Note: If you already have a BeagleBone Black, the instructions below will help you get Hobson running on it. However, if you are planning to buy one, consider the Raspberry Pi 3 as a better alternative for running Hobson as it has a number of advantages including built-in Wi-Fi, more USB ports and simpler software installation.
One of Hobson's goals is to maintain a small enough footprint so it can to run on resource-limited devices. For those that don't want to incur the cost of running full PC or Mac all the time, the Beaglebone Black (BBB) shown above is a good an alternative.
There are some nice advantages to the BBB:
...
- It's only a bare board – think of it as buying a PC motherboard. You'll probably need to buy a power supply and most likely an enclosure of some sort.
- Like most devices in this class, it doesn't have on-board Wi-Fi. You'll either need to use hard-wired ethernet or purchase, install and configure a Wi-Fi adapter.
- It only has one USB port. If you need more than that, you'll have to use a USB hub.
...
So, depending on what and where you buy, there's no reason you can't assemble a fully capable Hobson hardware hub for between $60 and $70.
Software
Snappy Ubuntu Core
Ubuntu recently announced its Snappy Ubuntu Core operating system as a solution for Internet of Things (IoT) devices. It's effectively a lightweight version of the Ubuntu Linux operating system that is very secure, highly reliable and easy to upgrade. Even in its current alpha state, it appears to run well and will only continue to improve. Given what it is trying to achieve and the fact that its first supported hardware platform is BBB, it seemed logical for Hobson to support it natively.
...
Jessie for BeagleBone
The recommended distribution for BeagleBone Black devices is Debian (Jessie as of this writing):
http://beagleboard.org/latest-images
There are five main steps necessary to get Hobson running on BBB using Snappy Ubuntu CoreDebian:
1. Download the
...
latest Debian image
...
and flash it to an SD card
See the "Getting Started with Beaglebone Black" section on this Snappy Ubuntu Core page for beagleboard.org for details. Here are a couple of helpful hints:
- The file you're downloading is ubuntu-core-WEBDM-alpha-02_armhf-bbbimage file
bone-debian-8.4-ixqt-4gb-armhf-2016-05-13-4gb.img.xz(or whatever the latest version is) is available from this page. Note that this is an XZ compressed file. You can use 7-Zip on Windows or Entropy on Mac (a paid program but it offers a demo) to extract it. What you want is a file that ends in.img. - For Windows, you can use the Win32 Disk Imager program to flash the
.imgfile to the SD card. - For Mac, you can use the Pi Filler program to flash the
.imgfile to the SD card. - For Linux, you can use the following command:
dd if=ubuntu-core-WEBDM-alpha-02_armhf-bbbbone-debian-8.4-ixqt-4gb-armhf-2016-05-13-4gb.img of=/dev/sdX bs=32M(wheresdXis the device for your blank SD card).
...
Note: It is highly recommended that you verify that the date and time are set correctly on the BBB. See the Hints & Troubleshooting section below.
3.
...
Resize the
...
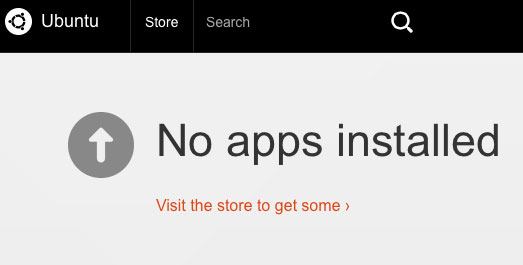
Wait a few minutes and then use your PC's browser to visit Ubuntu Core Snappy's WebDM page: http://webdm.local:4200. It will look like this:
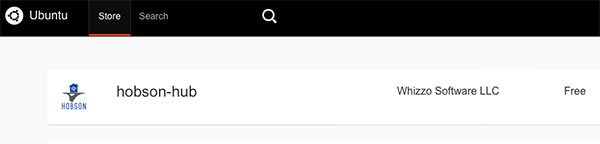
4. Install Hobson
Click the "Store" tab at the top of the page and search for Hobson (or hobson-hub):
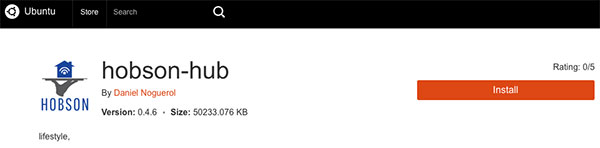
Click hobson-hub and then click the "Install" button:
After a minute or so, you should be able to configure Hobson by using your PC's browser to visit: http://webdm.local:8182/setup/index.html.
See the Hub Configuration Wizard page for more details.
Hints & Troubleshooting
Ubuntu Core Snappy has some idiosyncracies due to its current (as of this writing) alpha status. Here are some helpful hints in case you run into trouble.
- If you are using a pre-revision C BBB, you may have an issue booting Snappy Ubuntu Core from the SD card. Make sure you update your BBB to the latest Debian image before trying to boot the Ubuntu Core Snappy SD image.
- Early builds of Ubuntu Core Snappy seem to have issues with the correct time & date being set which will obviously cause problems for Hobson's scheduling mechanism. To resolve this, SSH into the BBB using username
ubuntuand passwordubuntuand run the following command:sudo timedatectl set-ntp true. - If you find that the "Store" tab in WebDM is blank, it could be that your date is not correctly set on the BBB. See the previous hint.
Other Distros
...
SD card
The BBB's operating system image is sized by default to be small enough to fit in its internal flash (eMMC). If your SD card is larger than 3GB or so, you'll need to do some work to make full use of the card's space. There are a lot of web pages out there (this one for example) explaining how to do this, but none of them seem to be up to date (they keep talking about a partition 2 which doesn't seem to exist).
The primary goal here is to delete the main partition on the SD card and create a new one of the appropriate size. The counterintuitive part (at least for me) was that this does not delete the data on the partition. Once you re-create the partition with fdisk, you reboot the BBB and use the resize2fs command to actually perform the resizing.
Here are the sequence of commands I used to perform this step on Debian Jessie:
sudo fdisk /dev/mmcblk0dnp1- press ENTER key to take the default recommendation
- press ENTER key to take the default recommendation
wsudo reboot
Once the system has rebooted, you can resize the partition via the following command:
sudo resize2fs /dev/mmcblk0p1
Then reboot the system again and you should be done.
4. Install Java
Unfortunately, the BeagleBone Debian distribution does not include Java. You will need to install it using the following command:
sudo apt-get update && sudo apt-get install oracle-java8-installer
This step will take a little while and requires accepting some Oracle license agreements.
5. Download & Install Hobson DEB
You can get a link to the latest Hobson DEB package on the downloads page. The filename will be in the form of "hobson-hub-x.x.x.deb" (where x.x.x is the version number).
Download the package using the following command (make sure you replace the URL with the latest one from the downloads page):
wget -O hobson.deb https://bintray.com/whizzosoftware/maven/download_file?file_path=com%2Fwhizzosoftware%2Fhobson%2Fhobson-hub-deb%2F0.9.0%2Fhobson-hub-deb-0.9.0.deb
Then, install the package by running the following command:
sudo dpkg -i ./hobson.deb
You can then start the Hobson service by running:
sudo systemctl start hobson.service
Using Hobson
You can get started using Hobson by using a web browser to connect to the following URL:
http://BEAGLEBONE_IP_ADDRESS:8182/setup/index.html
(make sure to replace BEAGLEBONE_IP_ADDRESS with the IP address assigned to the BBB)